Effervecreanet - 3d print: visor
Video non-interactive of 3d visor model
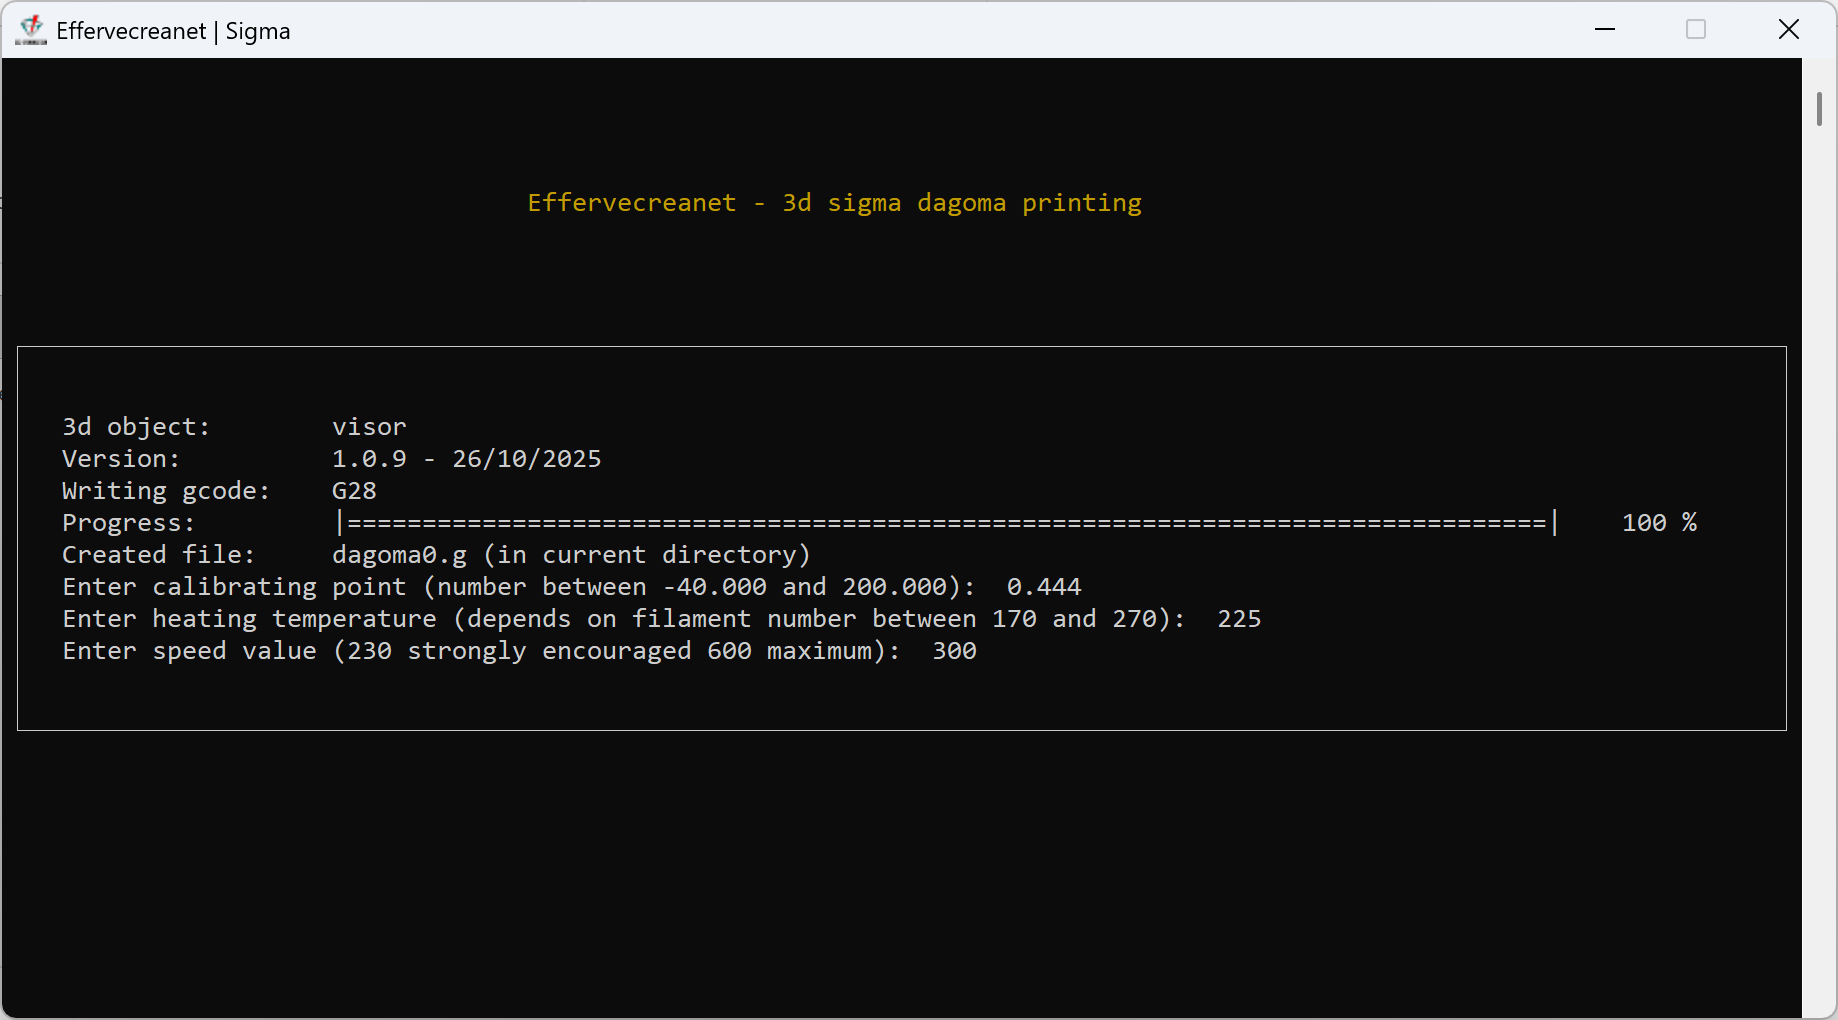
For the sake of generating 3D Object gcode, I borrow you this explanation. In a first time, you have to find the 3d printer calibrating point. The calibrating point is indeed a floor expressed as floating point number where the 3d printer head is close by close by the 3d printer bed. For the Dagoma Magis or Sigma 3d printer, it's a number between -20.000 and 200.000 on the Z axis. 3 digits after the decimal dot are enough accurate.
Generating GCode step by step

Run the appli
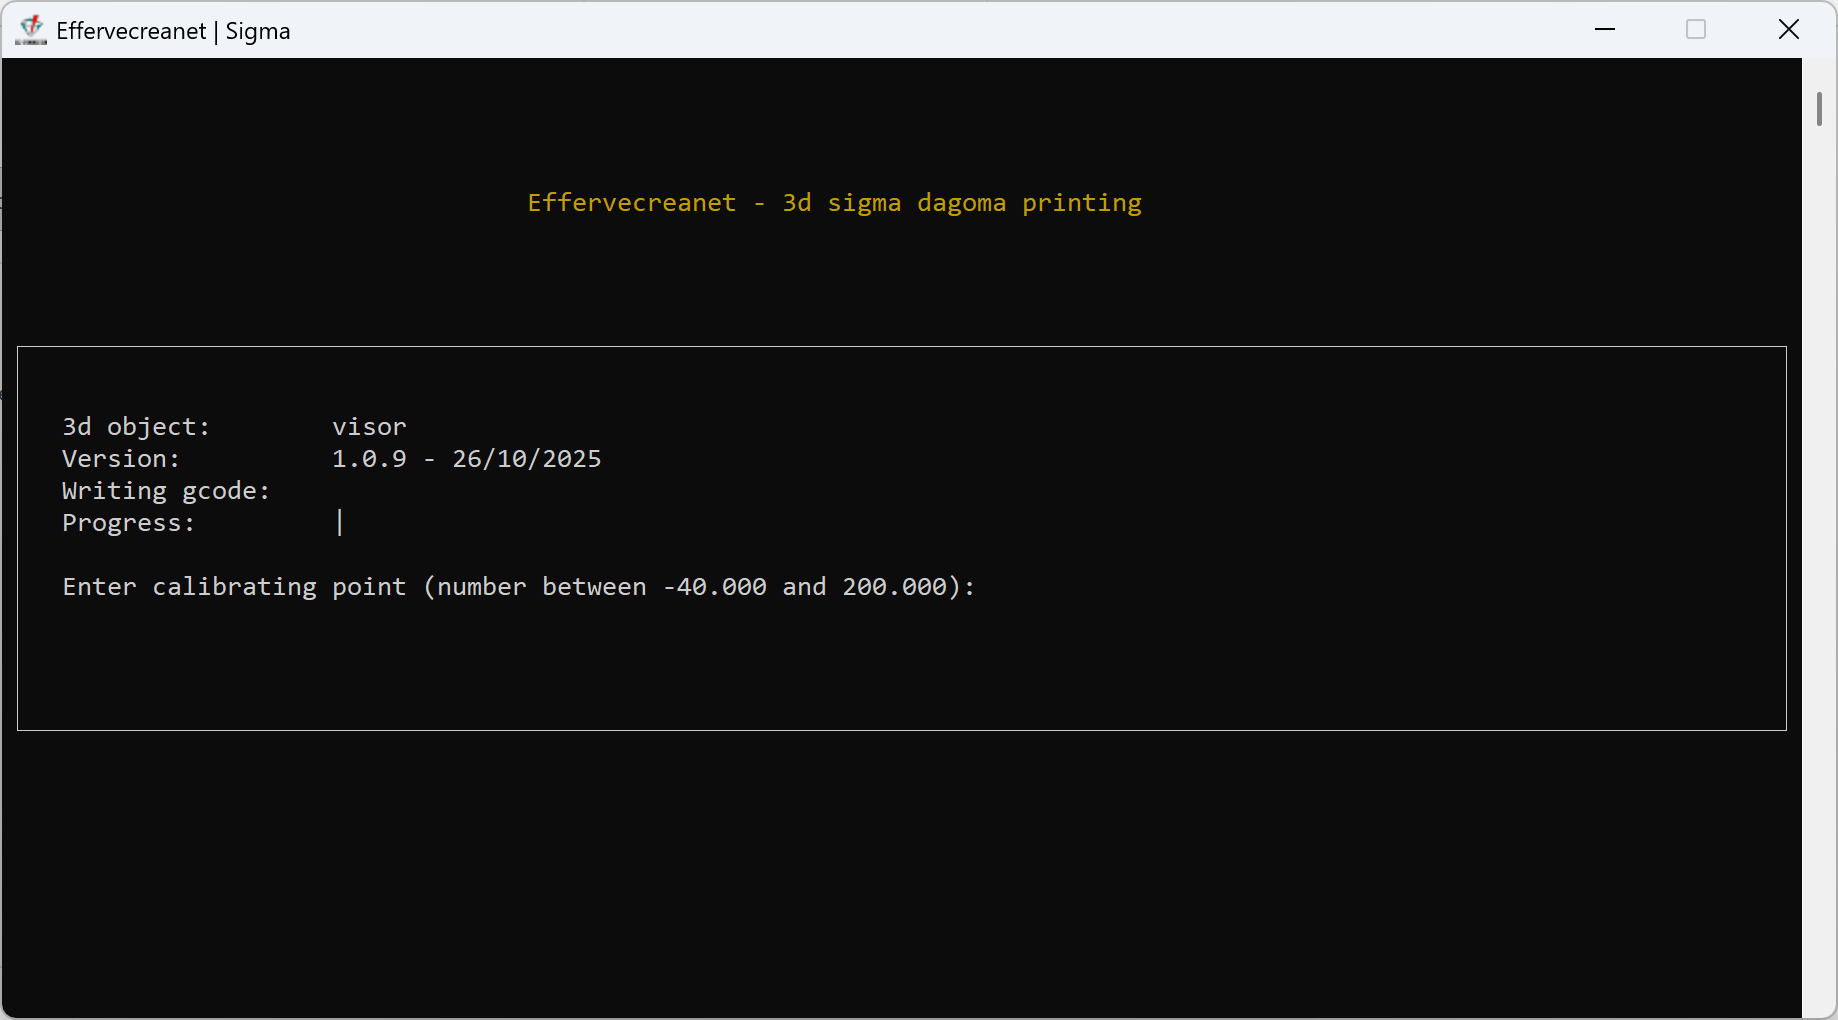
Type the mandatory values and Enter and the generation begin
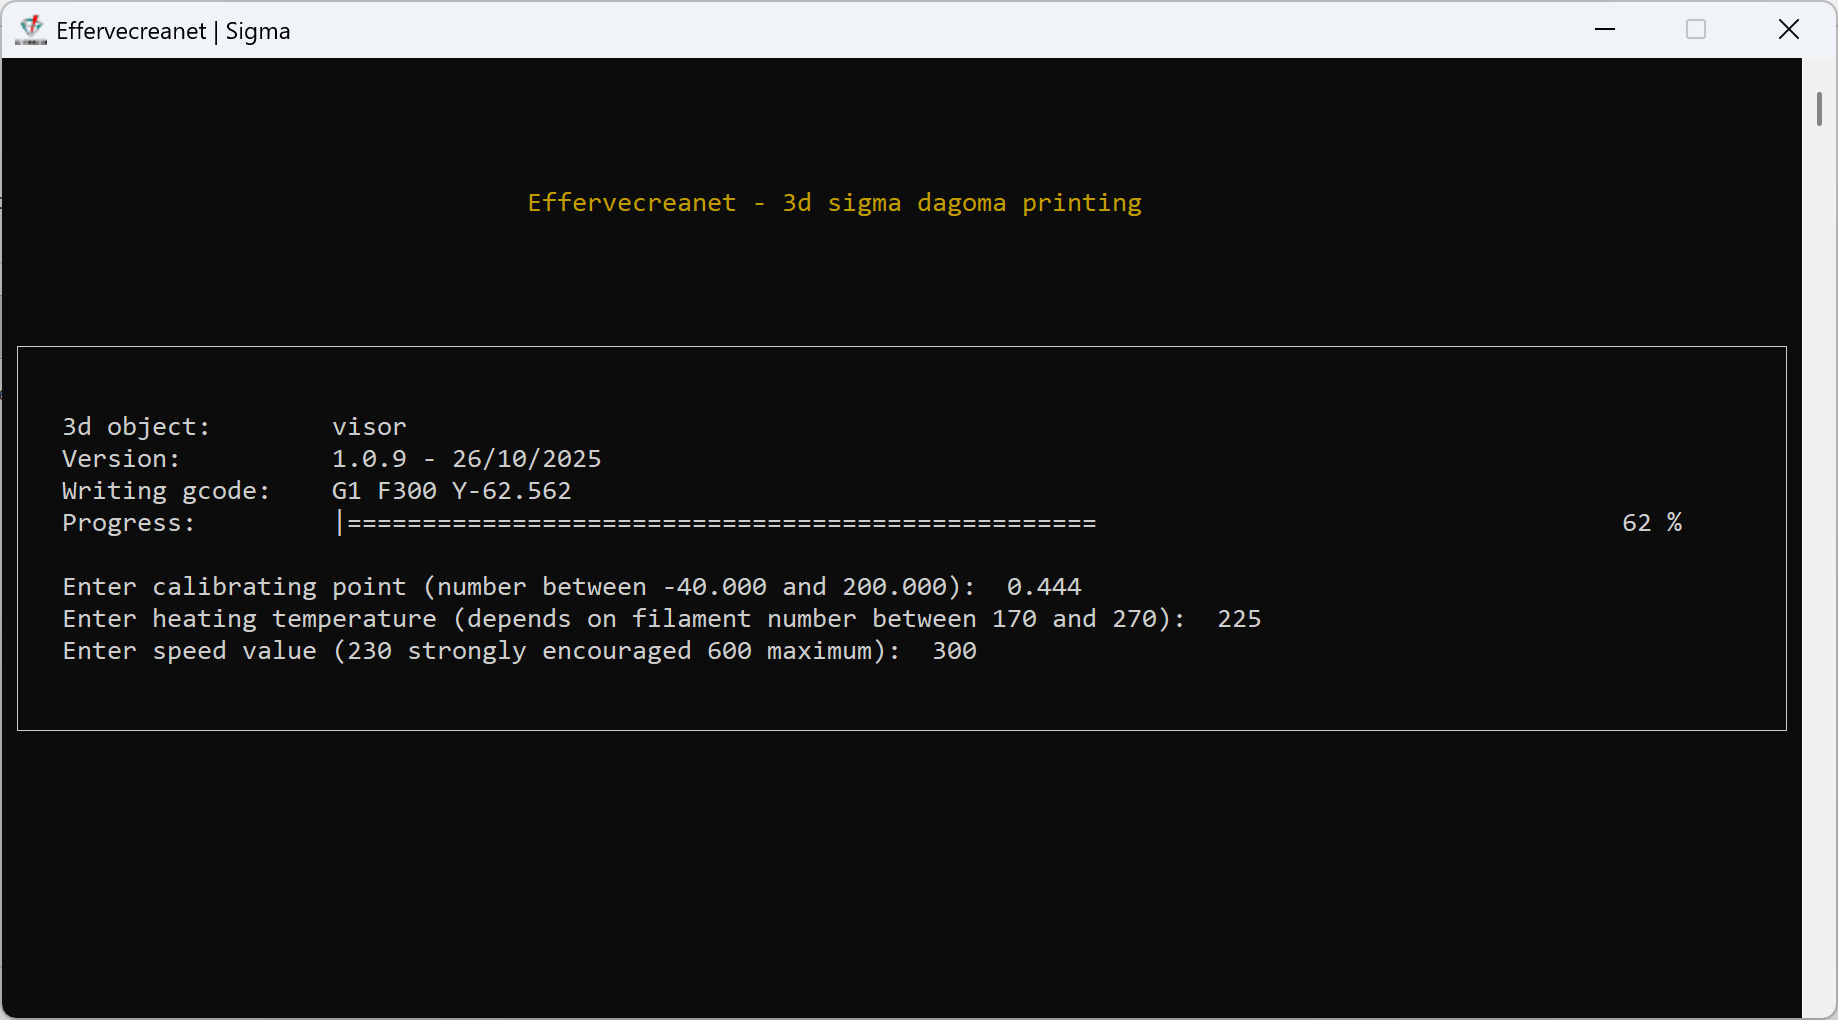
Once the dagoma0.g file is created you put it in a SD Card which you insert in your 3d printer.
Since the generation is ended, It remains to copy the file "dagoma0.G" in a SD Card and put it in the 3d printer.
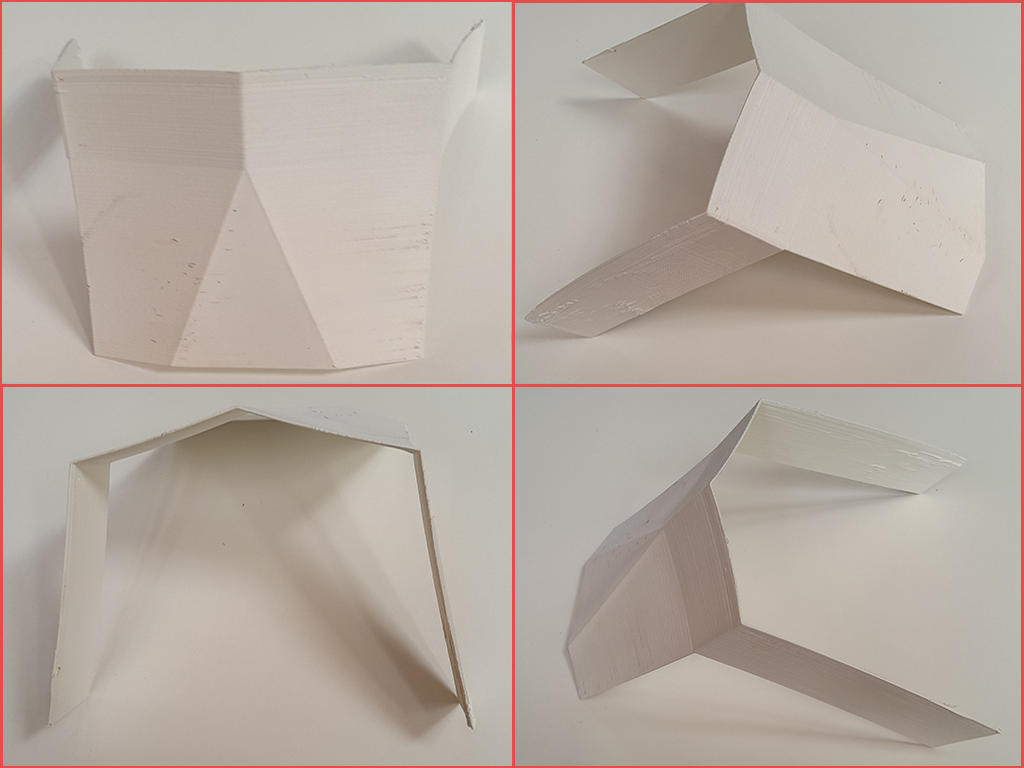
Simple visor no-prepared out of the 3d printer "AS IT IS"
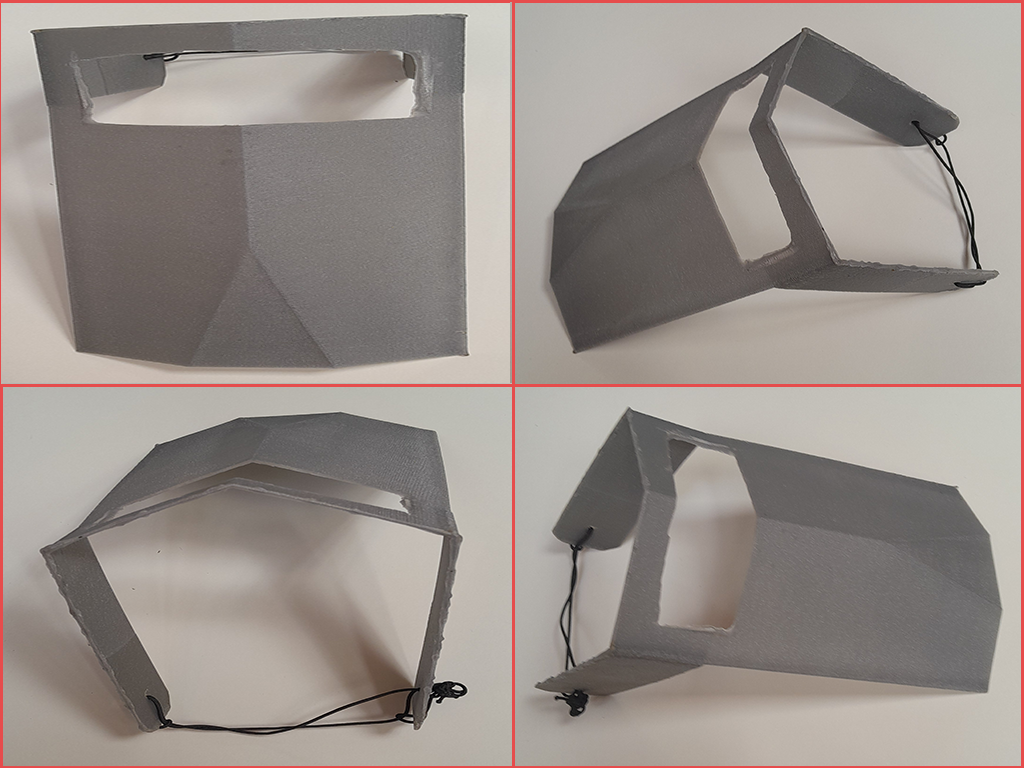
Prepared simple visor (drilling and holes maker)
Application (VisorWithoutGlass_dagoma0_g.exe) checksum:
SHA256: a3e99f83ef75f877c9f0dd22f871a3602045bba62b69b4b1375405c74b94f07f